
043 Place Family Types
Chris McKeown / July 1, 2025
Time Saving
Overview
Place Family Types iterates through a set of families and places one instance of every type in the current view, arranged in a bounding-box grid. Families are laid out as rows; within each row, types are spaced horizontally by their bounding box width plus one unit. This is useful for quickly generating a visual type catalogue from the project or from a folder of family files — without having to load and place each type individually.
Each family is routed to the placement method that suits it:
- Model families are placed on the active view's level and arranged into the grid.
- Detail and annotation families are placed directly into the active view — this is the only kind of family that can be placed when a drafting view is active.
- Doors and windows need a wall, so the tool creates one temporary host wall on the active level for the run and places every door and window into it, spaced along its length.
- Families that have nowhere useful to go — title blocks (sheet only), curtain wall panels and mullions (need a curtain wall) — are skipped, and the results log says why.
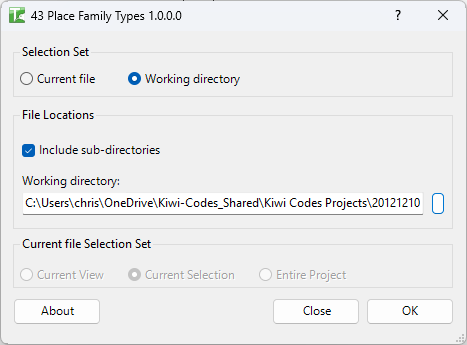
Table of Contents
Key Features
- Current file or working directory — source families from the active Revit project or from a folder of .rfa files
- Sub-directory inclusion — when using a working directory, optionally recurse into sub-folders
- Automatic grid layout — families are placed in rows; types within each family are spaced by bounding box width
- Bounding box spacing — horizontal spacing is bounding box width + 1 unit; vertical spacing is the maximum bounding box height in the row + 1 unit
- Scope control — when sourcing from the current file, filter to Current View, Current Selection, or Entire Project
- Drafting view support — with a drafting view active, detail and annotation families are placed straight into it
- Automatic host wall for doors and windows — a temporary wall is created on the active level to host wall-based door and window families
- Smart per-family placement — each family is routed to the correct placement method by its category and placement type; families that cannot be placed anywhere useful are skipped with a reason in the log
- Result count — reports how many instances were placed
Requirements
- An active view to place into:
- a model view with an associated level (floor plan, ceiling plan, section, elevation, 3D) for model families, doors, and windows
- a drafting view for detail and annotation families
- When using a working directory, the path must be a valid accessible directory
- A valid Kiwi Codes Bonus Tools licence must be active
Note: Doors and windows are placed into a temporary wall the tool creates. Title blocks (sheet only) and curtain wall panels and mullions (need a curtain wall) are skipped, as are other host-specific families (floor-hosted, ceiling-hosted, face-hosted) that have no host in the target view. Every skip is reported in the results log with the reason.
Running the Tool
Launch
Find Place Family Types on the Bonus Tools Ribbon or use 115 Search Tools.
Step 1 — Choose source
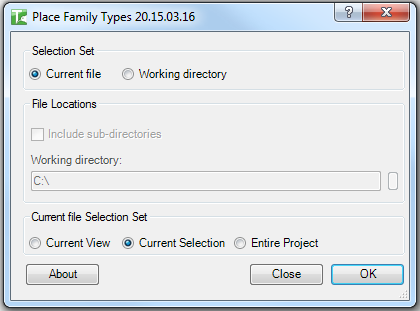
Select the source of the families to place:
| Option | Behaviour |
|---|---|
| Current file | Sources families from FamilyInstance elements in the Revit project |
| Working directory | Loads .rfa files from a specified folder on disk |
Step 2a — Current file selection set
If Current file is selected, choose the scope:
| Option | Families included |
|---|---|
| Current View | Families present in the active view |
| Current Selection | Families from currently selected elements |
| Entire Project | All families loaded in the project |
Step 2b — Working directory settings
If Working directory is selected:
- Optionally tick Include sub-directories to recurse into sub-folders
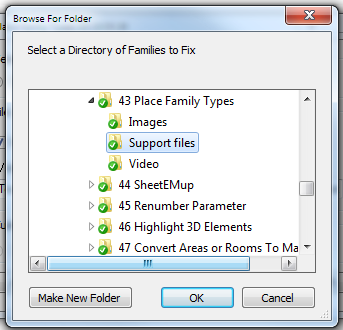
- Click the browse button to select the folder containing the .rfa files
Step 3 — Run
Click OK. The tool:
- Collects all families from the selected source
- For each family, works out how it can be placed in the active view (level, drafting view, or hosted in a wall)
- Iterates through all of the family's types and places one instance of each
- Moves model and detail instances into position in the grid layout; doors and windows stay on the temporary host wall
A confirmation reports:
X instances placed.
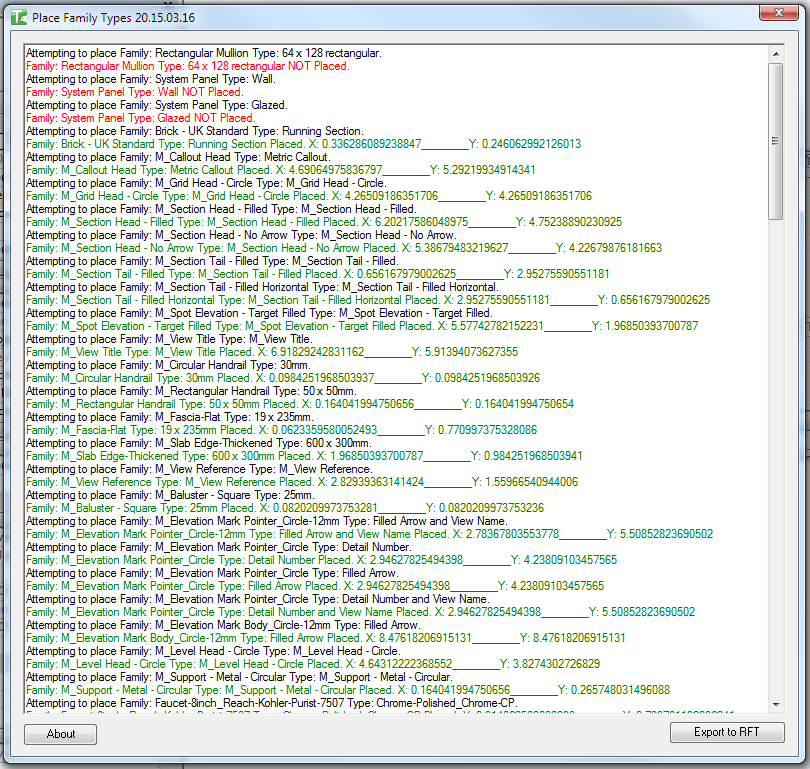
The results log lists each attempted placement — green lines are successes, grey lines are families deliberately skipped (with the reason), and red lines are types that failed to place:
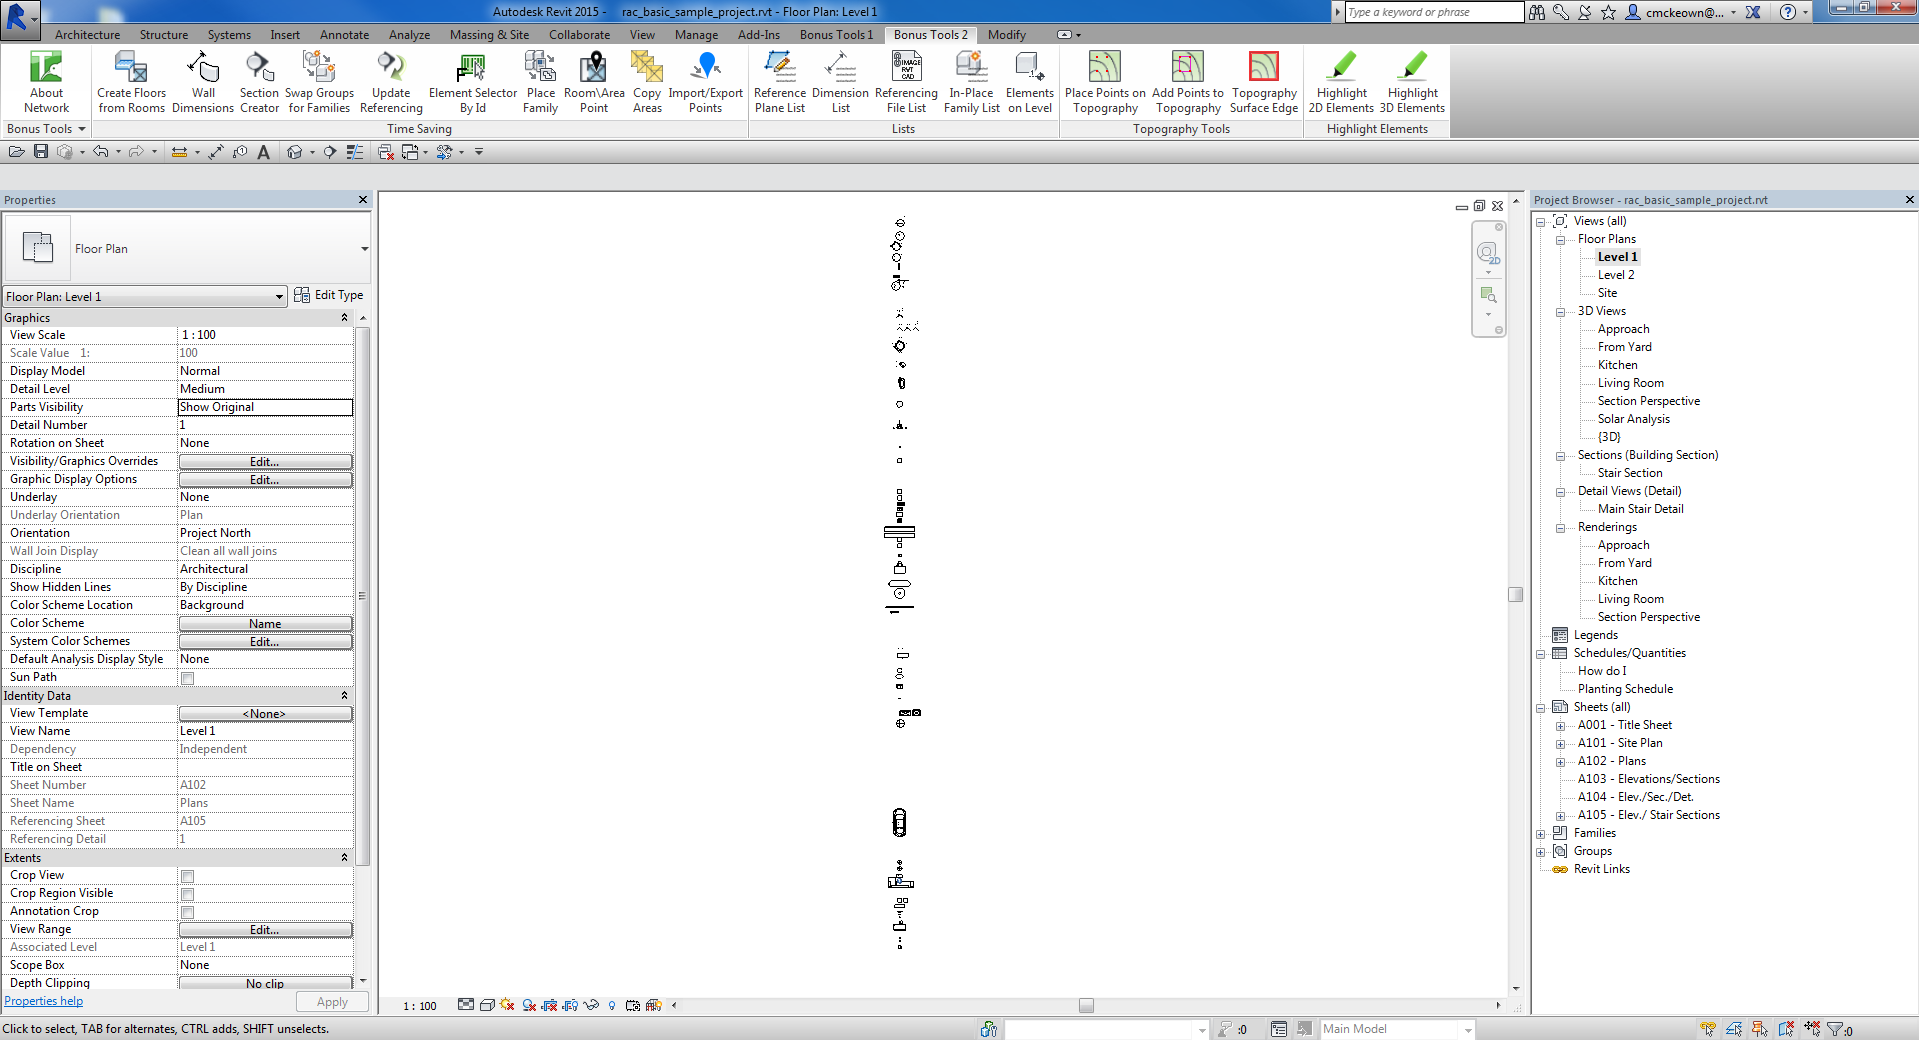
After running, the placed instances appear in the active view in a bounding-box grid:
Tips and Best Practices
- Open a dedicated floor plan view before running. Placing hundreds of instances in a production view will clutter it. Use a dedicated "Family Catalogue" view. Choose a plan view when you want doors and windows included — they need a level.
- Use a drafting view for detail and annotation content. With a drafting view active, only detail components, line-based detail families, and annotation families place; everything else is skipped with a note in the log.
- Use Entire Project scope for a complete catalogue. If you want every loaded family and type, select Entire Project; if you only want what's visible, use Current View.
- Working directory is useful for library documentation. Point it at an office family library folder to generate a visual catalogue of all available families and types.
- A temporary host wall is left behind. When doors or windows are placed, the tool builds one plain wall (well clear of the grid) to host them. Delete that wall — or the whole catalogue view — when you're finished; deleting the wall also removes the doors and windows it hosts.
- Some families are still skipped. Title blocks, curtain wall panels and mullions, and floor/ceiling/face-hosted families have no valid host in a catalogue view. The log names each one and why.
- The grid expands right and downward. Placement begins at the origin. If the view crop is small, zoom to fit after running to see all placed instances.
- Undo is available. Each placement runs in its own transaction. Multiple Ctrl+Z presses may be needed to undo a full run, including the temporary wall.
Common Use Cases
Generating a visual family type catalogue — Open a new "Family Catalogue" floor plan view, run Place Family Types with Entire Project scope to produce a visual grid of every loaded family and all its types for reference documentation or client presentation. Use a drafting view instead when you only want the detail and annotation families.
Reviewing a new family library folder — Point the working directory at a folder of newly created .rfa files to verify all types load and place correctly before distributing the library.
Creating type sheets — After placing all types, annotate them with tags and use the layout as the basis for a family type sheet included in the project documentation set.
Spot-checking family geometry — Select specific families in the current view and run Place Family Types on Current Selection to quickly review all types side by side without opening each family separately.
Troubleshooting
"Please select at least only family." The selection or project contains no FamilyInstance elements matching the chosen scope. Change the Selection Set scope, or ensure the active view contains family instances.
"Please select a valid Working Directory." The path entered in the Working Directory field does not exist or is not accessible. Click the browse button and select a valid folder.
Some families not placed Title blocks, curtain wall panels and mullions, and floor/ceiling/face-hosted families have no valid host in a catalogue view and are skipped. Each skip is listed in the results log (grey line) with the reason. The result count reflects only successfully placed instances.
Nothing placed in a drafting view A drafting view only accepts detail components, line-based detail families, and annotation families. Model families (furniture, doors, columns, generic models) are skipped with a note in the log. Run in a floor plan view to place model families.
A plain wall appeared in the view That is the temporary host wall the tool creates when doors or windows are in scope. It sits clear of the grid. Delete it — or the whole catalogue view — when you're done; deleting it also removes the hosted doors and windows.
Instances placed at wrong position or overlapping This can happen if the bounding box of some family types is very large. Verify the family geometry is a reasonable size, and zoom to fit after running.
Working directory runs but nothing placed The .rfa files in the folder may fail to load, or the active view may not support their placement category (for example, model families while a drafting view is active). Check the Revit output panel for load errors.