007 Settings
Chris McKeown / July 1, 2025
Settings
Overview
Settings is the central control panel for Bonus Tools. All configuration is available from a single dialog with six tabs:
- General — feature toggles, journal files, language, and appearance
- Ribbon Settings — customise which tools appear on each ribbon tab, panel, and button
- Element Tracking — stamp elements with the user and day when they were last modified
- Model Health — map parameters for automated health reports
- Window Watcher — block or log nominated Revit dialogs as part of company standards
- AI Assistant — configure the Anthropic API key, AI model, and MCP server connections
Settings are saved to C:\Users\%username%\AppData\Roaming\KCApps\Settings.json. A restart of Revit is required for changes to take effect.
Table of Contents
- Launch
- Tab 1 — General
- Tab 2 — Ribbon Settings
- Tab 3 — Element Tracking
- Tab 4 — Model Health
- Tab 5 — Window Watcher
- Tab 6 — AI Assistant
- Saving Settings
- Tips and Best Practices
- Troubleshooting
Launch
Navigate to the Bonus Tools ribbon, click the dropdown below About, and select Settings.
Tab 1 — General
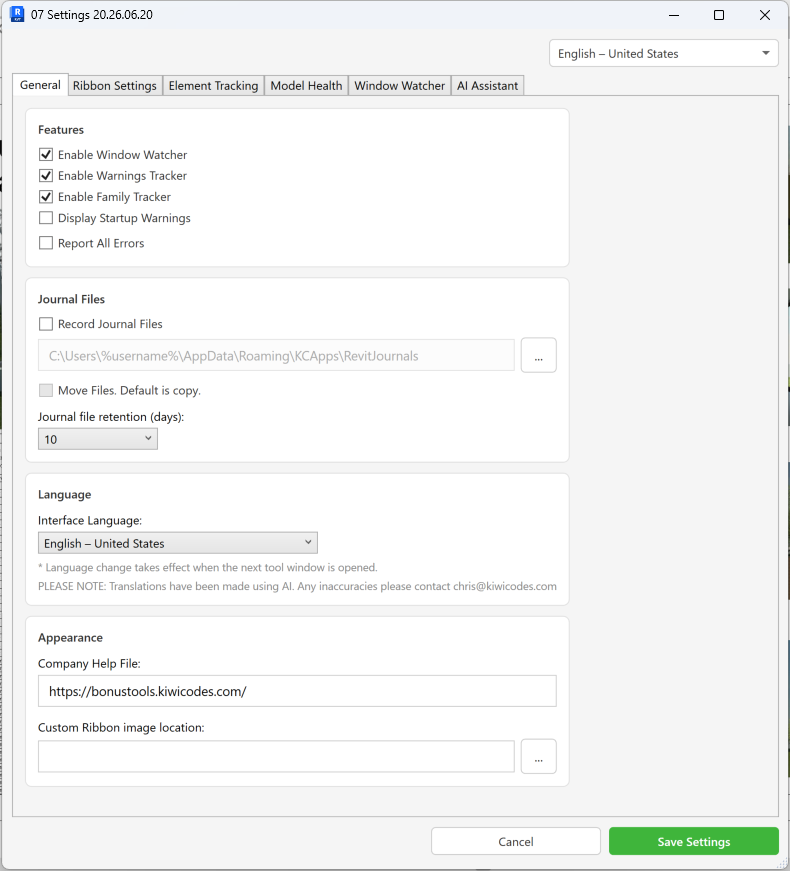
The General tab is divided into four sections.
Features
| Setting | Description |
|---|---|
| Enable Window Watcher | Activates the Window Watcher service — configure rules on the Window Watcher tab |
| Enable Warnings Tracker | Tracks Revit warnings generated during the session and writes them to a log |
| Enable Family Tracker | Tracks family insertion and modification by date and user |
| Display Startup Warnings | Shows any Bonus Tools warnings when Revit loads |
| Report All Errors | Reports all Bonus Tools errors to the user; deselecting hides low-priority errors |
Journal Files
| Setting | Description |
|---|---|
| Record Journal Files | Copies (or moves) Revit journal files to a central location |
| Path | Destination folder for journal files — click ... to browse |
| Move Files | Moves journal files to the destination instead of copying them |
| Journal file retention | Number of days to keep journal files before they are deleted (10, 20, or 30) |
Language
| Setting | Description |
|---|---|
| Interface Language | Changes the language of all Bonus Tools dialogs — takes effect when the next tool opens |
| Edit Custom Language File | Opens lang_other.json so you can override individual strings |
Translations were produced with AI assistance. Report any inaccuracies to chris@kiwicodes.com.
Appearance
| Setting | Description |
|---|---|
| Company Help File | URL to your company help system — linked from Tool 54 |
| Custom Ribbon image location | Folder containing BTIcon 16x16.png and BTIcon 32x32.png to replace the default Bonus Tools icon |
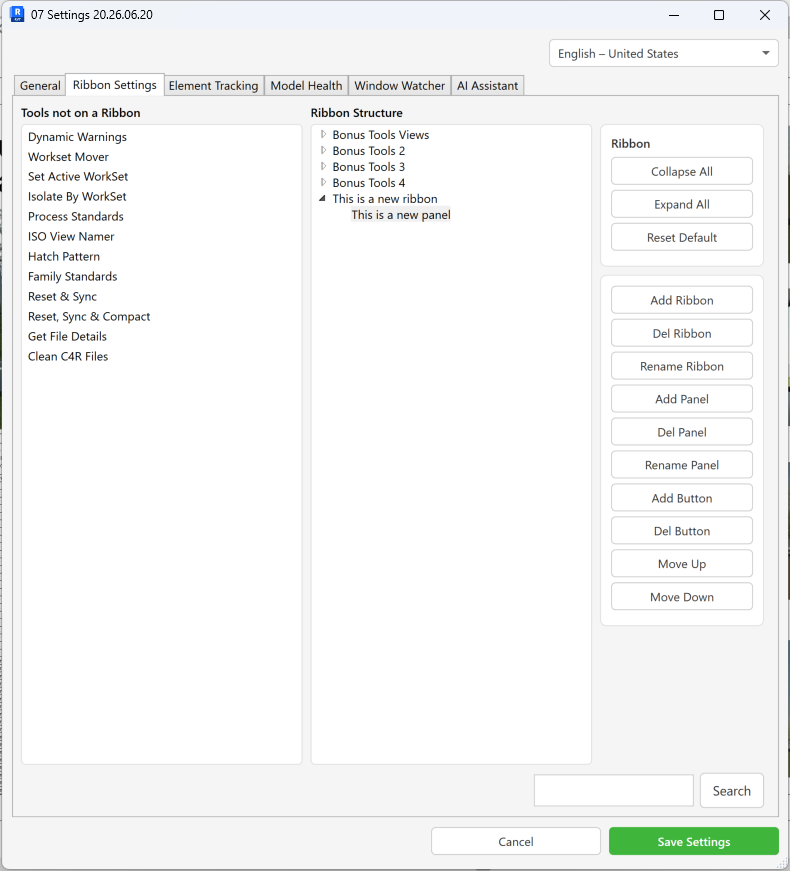
Tab 2 — Ribbon Settings
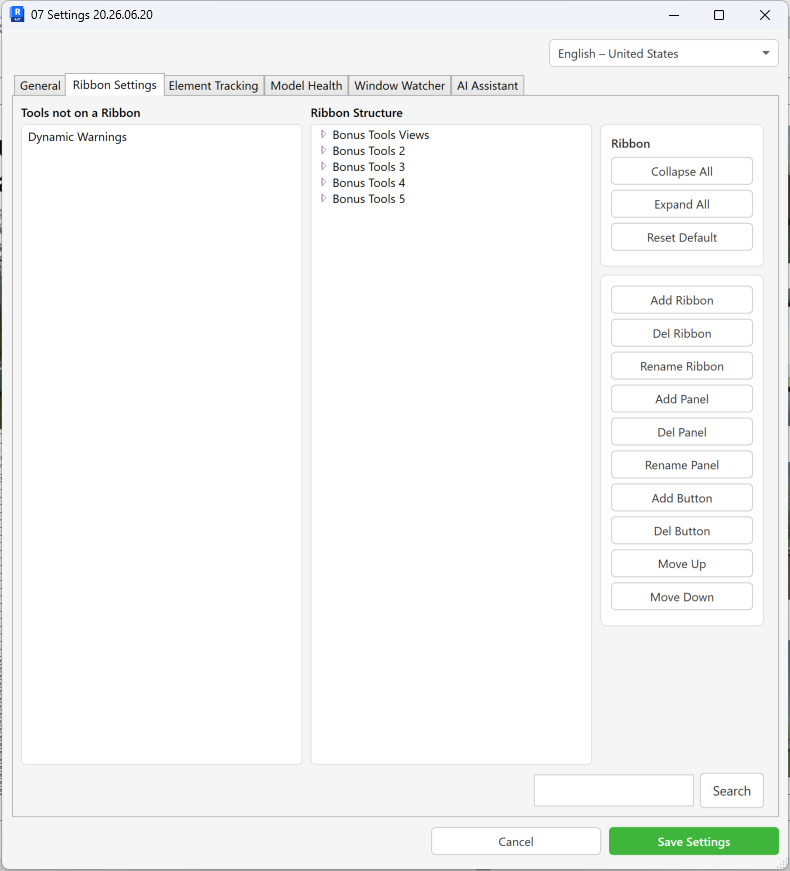
Ribbon Settings lets you fully customise the Bonus Tools ribbon layout. The left panel lists tools not currently on any ribbon; the right panel shows a tree of Ribbons → Panels → Buttons → Tools.
Ribbons
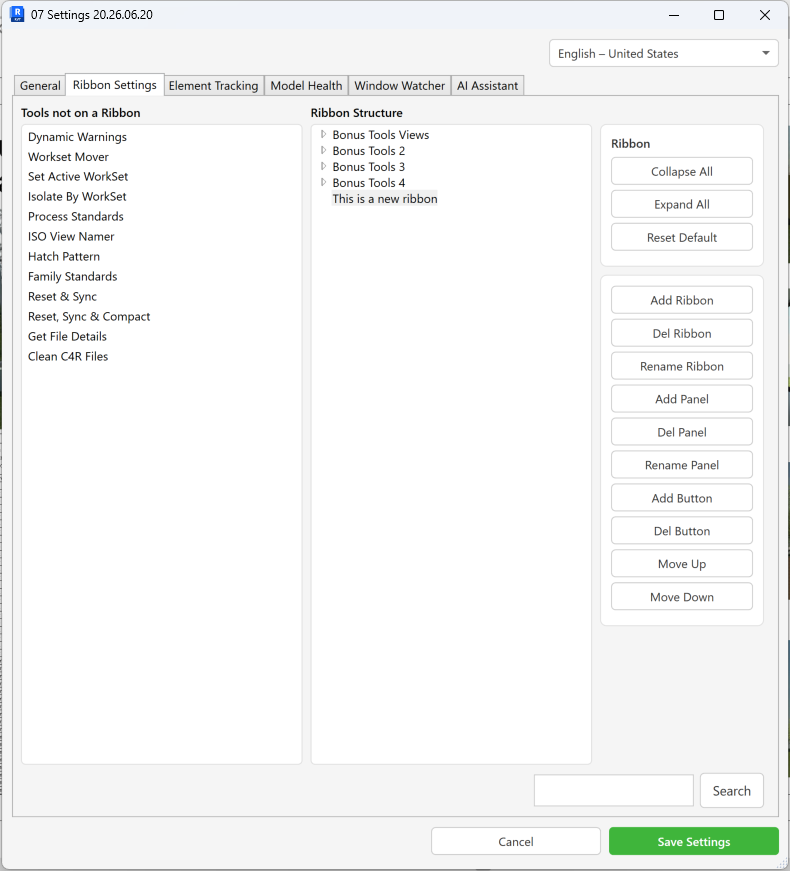
- Add Ribbon — creates a new top-level ribbon tab
- Rename Ribbon — select a ribbon and rename it
- Delete Ribbon — removes the ribbon and all its panels, buttons, and tools (tools return to the left panel)
Panels
- Add Panel — select a ribbon first, then add a panel to it
- Rename Panel — select a panel and rename it
- Delete Panel — removes the panel and all its buttons and tools (tools return to the left panel)
Buttons
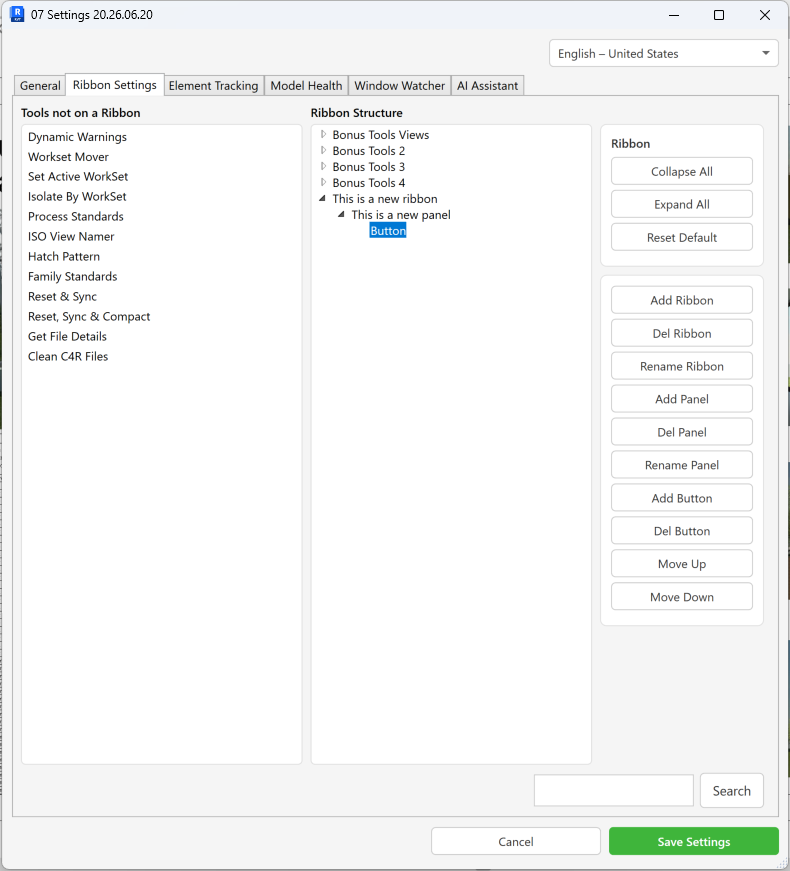
- Add Button — select a panel first, then add a button to it
- Delete Button — removes the button and its tools (tools return to the left panel)
Buttons cannot be renamed.
Tools
- Drag a tool from the left panel onto a Button node to add it to the ribbon
- Drag a tool from a Button node back to the left panel to remove it
- The number of tools on a button controls how it displays:
- 1 tool → large icon
- 2–3 tools → small icons
- 4+ tools → drop-down list
Search
Use the search box to find a tool in the tree by name. Press Search repeatedly to cycle through matches.
Collapse All / Expand All
Collapse or expand all ribbon nodes to navigate large configurations more easily.
Reset Default
Resets the entire ribbon structure back to the Bonus Tools default layout.
Tab 3 — Element Tracking
![]()
Element Tracking stamps Revit elements with the name of the user who last modified them, and the day on which they did so, by writing to a shared project parameter.
- Enable Element Tracker — activates tracking; requires at least one project-level parameter bound to all categories
- Day checkboxes (Mon–Sun) — enable tracking for each day of the week; select the project parameter to write to for each day
- Last Modified Date — records the most recent edit regardless of day
- Add parameter per user — creates a separate project parameter per Autodesk user name so each user's last-edit date is recorded independently
If no parameters appear in the lists, add a project-level shared parameter covering all categories and reopen the dialog.
Tab 4 — Model Health
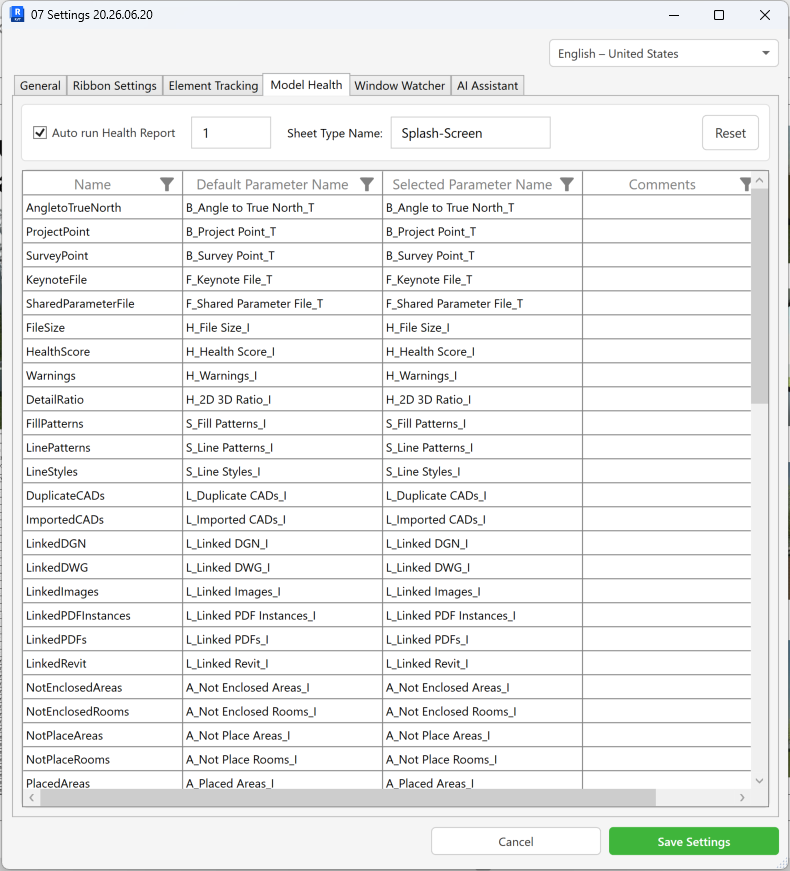
Model Health maps Bonus Tools health-check items to parameters in the Bonus Tools Splash Screen family, which is used by Tool 142 KiwiCodes Audit.
The Splash Screen family is located at:
C:\Users\%username%\AppData\Roaming\Autodesk\ApplicationPlugins\BonusTools.bundle\Contents\App Resources\2016_Splash-Screen_A3.rfa
-
Sheet Type Name — the family type name Bonus Tools looks for when writing health-check results
-
Auto run Health Report — automatically runs the health check every N days
-
Health check grid columns:
Column Description Name Bonus Tools internal check name Default Parameter Name The parameter name used when Reset is clicked Selected Parameter Name Map to a project parameter of your choice Comments Company notes for this check Select Tick the checks you want to run -
Reset — restores all parameter mappings to their defaults
Auto run takes ownership of elements in the model, which can cause collaboration issues. Manual runs via Tool 142 are recommended.
Tab 5 — Window Watcher
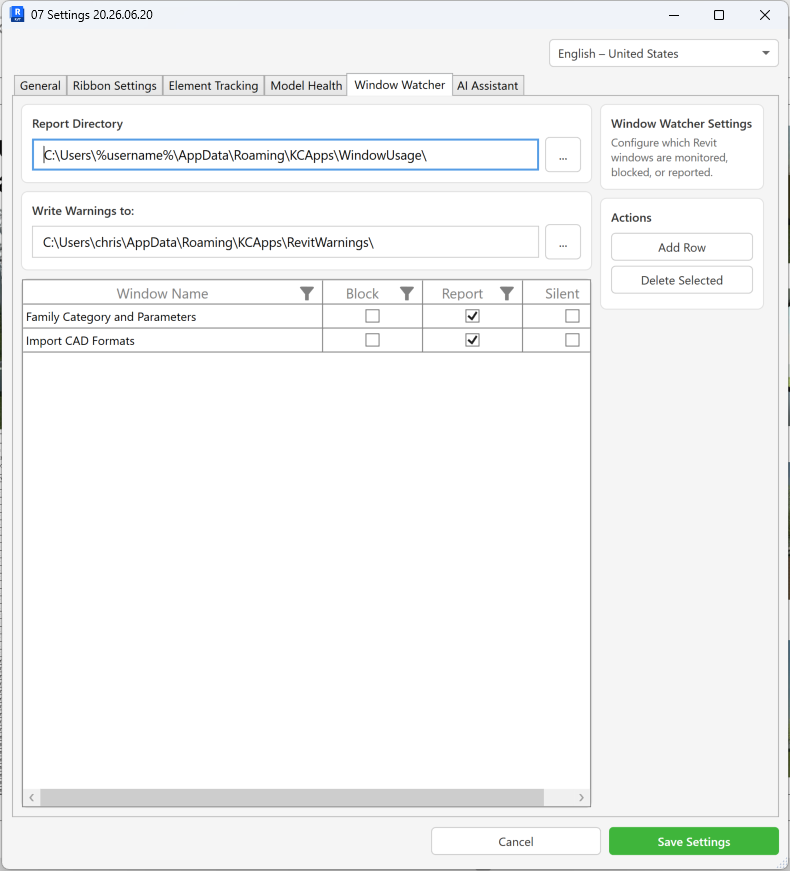
Window Watcher monitors nominated Revit dialog windows and can block them outright or log their activation as part of company compliance standards.
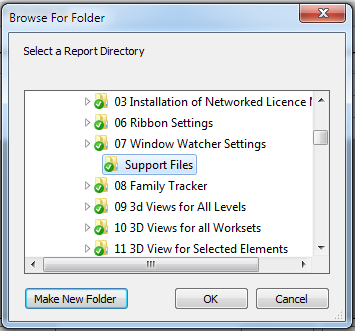
Report Directory
The Report Directory is where window-activation log files are written. Each entry records the project name, the user who activated the window, and a timestamp.
Click the folder button to the right of the Report Directory field and browse to the destination folder.

Default path:
C:\Users\%username%\AppData\Roaming\KCApps\WindowUsage\
Write Warnings Directory
The Write Warnings directory stores Revit warning logs — one file per date, per user.
Click the folder button to the right of the Write Warnings to field and browse to the destination folder.


Default path:
C:\Users\%username%\AppData\Roaming\KCApps\RevitWarnings\
Window Rules Grid
Each row defines a monitoring rule for a specific Revit dialog window:
| Column | Description |
|---|---|
| Window Name | The exact title-bar text of the Revit dialog to monitor |
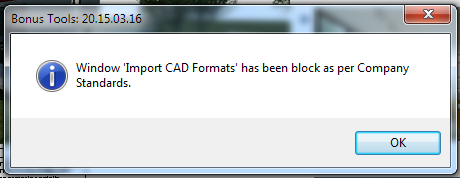
| Block | Prevents the window from opening and shows a company-policy warning instead |
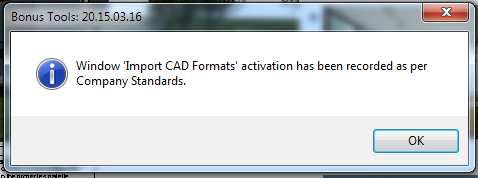
| Report | Logs when this window is activated (project name, user, timestamp) |
| Silent | Suppresses the in-session notification toast — logging still occurs |
To add a rule:
- Click Add Row — a new empty row appears
- Type the exact Revit dialog title in the Window Name cell
- Tick Block, Report, and/or Silent as required
Common windows to monitor:
Family Category and Parameters— triggers when a user creates an in-place familyImport CAD Formats— triggers when a user imports a CAD file
When a window is reported (and not silent):
When a window is blocked:
To remove a rule, select the row and click Delete Selected.
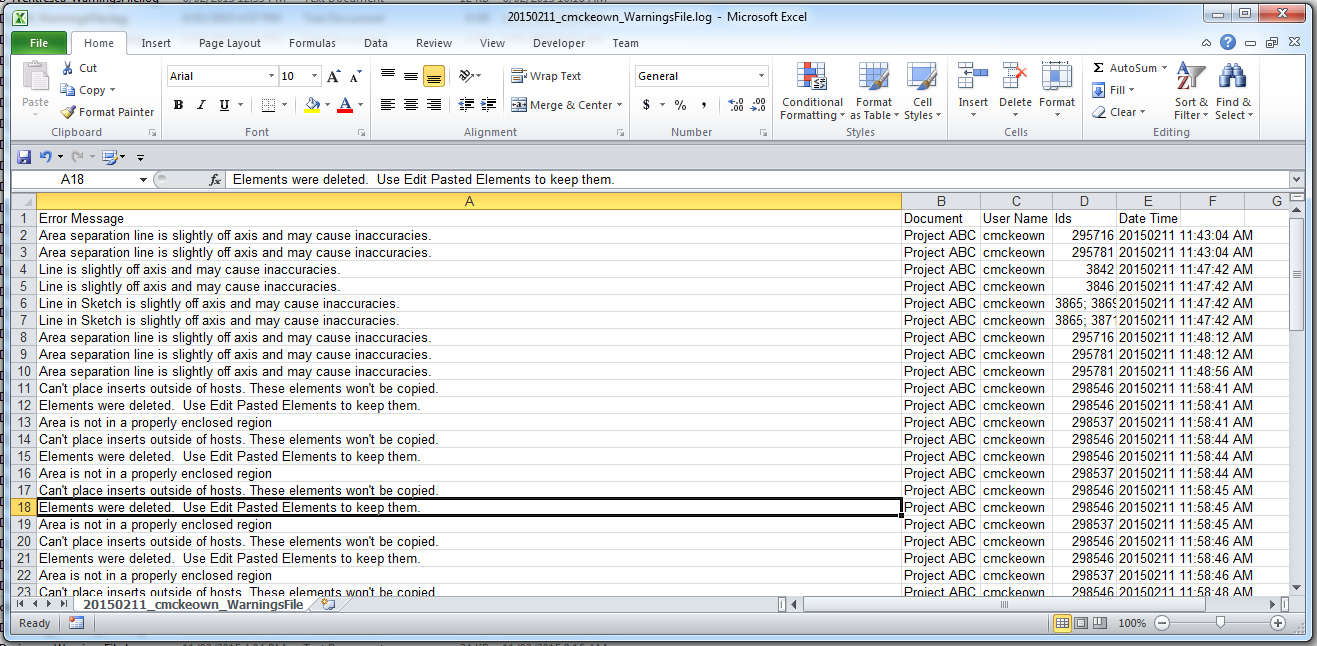
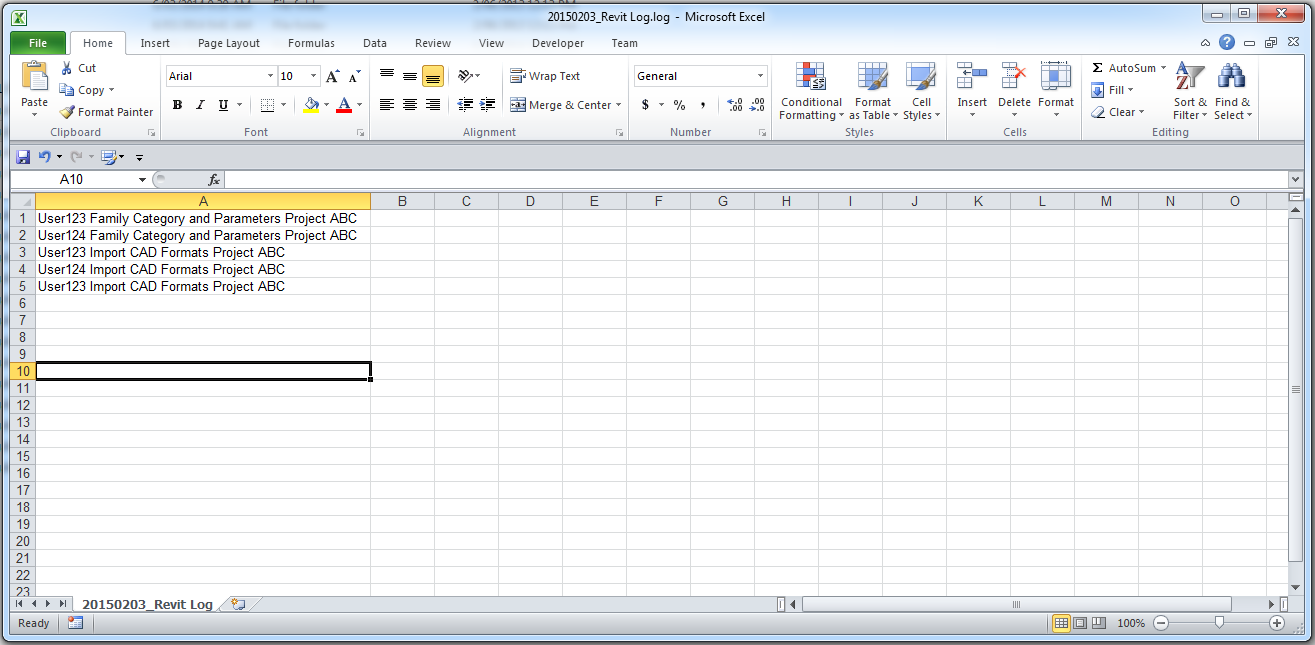
Sample Output Files
Warning log — one file per date and user, listing Revit warnings generated during the session:
Window Watcher log — one file per date, listing window activations by project and user:
Tab 6 — AI Assistant

The AI Assistant tab is available to licensed users with the AI feature enabled. It configures the Anthropic API key, the Claude model, and optional MCP server connections for Claude Desktop and Cursor.
For full setup instructions, what the AI can do, and troubleshooting, see Tool 158 — AI Assistant.
API Key
| Control | Description |
|---|---|
| Key field | Paste your sk-ant-... API key — the field masks input and blocks copy/paste |
| Save Key | Encrypts and saves the key to local storage |
| Clear Key | Removes the saved key, setting it back to empty |
Get your key from console.anthropic.com. The key is write-only once saved — use Clear Key if you need to replace it.
Model
| Model | Best for |
|---|---|
| Opus 4.8 | Complex model analysis. Higher cost. |
| Sonnet 4.6 | Most users — good balance of speed and quality |
| Haiku 4.5 | Simple queries, lowest cost |
MCP Server
Connects Claude Desktop or Cursor directly to the live Revit model via a local named pipe. Select a client, click Configure, then restart the client. Configured clients appear in the list with a Remove button. See Tool 158 — AI Assistant for step-by-step setup.
Saving Settings
Click Save Settings to write all changes across every tab. The confirmation message is:
Settings saved successfully. Please restart Revit for the changes to take effect.
Restart Revit to activate the new configuration.
Tips and Best Practices
- Window Watcher must be enabled on the General tab before Window Watcher rules take effect at runtime.
- Use exact dialog title-bar text for Window Watcher rules — the match is case-sensitive and must be verbatim.
- Silent + Report is ideal for background auditing without interrupting users.
- Block is absolute — a blocked window cannot be opened by any user while the rule is active.
- Put log directories on a shared network drive so all users' logs aggregate centrally.
- Deploy settings centrally by copying a pre-configured
Settings.jsonto each workstation via a login script. - Element Tracking requires project parameters — if the day dropdowns are empty, add a project-level shared parameter covering all categories first.
- Model Health auto-run takes element ownership — prefer manual runs via Tool 142 on collaborative models.
Troubleshooting
Changes have no effect after clicking Save Settings Settings are applied at next Revit launch. Close and reopen Revit after saving.
Element Tracking day dropdowns are empty No project parameters bound to all categories exist in this model. Add a shared parameter at the project level and reopen the Settings dialog.
Window activations are not being logged Verify that (1) Enable Window Watcher is ticked on the General tab, (2) the Report Directory path is set, (3) the folder exists and the user has write permissions.
Warning logs are not being written Verify the Write Warnings directory is set, the folder exists, and the user has write permissions.
"Window Watcher Setting failed to initialize."
The settings file could not be read. Check C:\Users\%username%\AppData\Roaming\KCApps\Settings.json for corruption or permission issues.
"Please select a valid row." A Delete action was triggered without a row selected. Click a row before clicking Delete Selected.
Ribbon changes don't appear after saving Restart Revit. Ribbon changes require a full restart to rebuild the ribbon from the saved configuration.